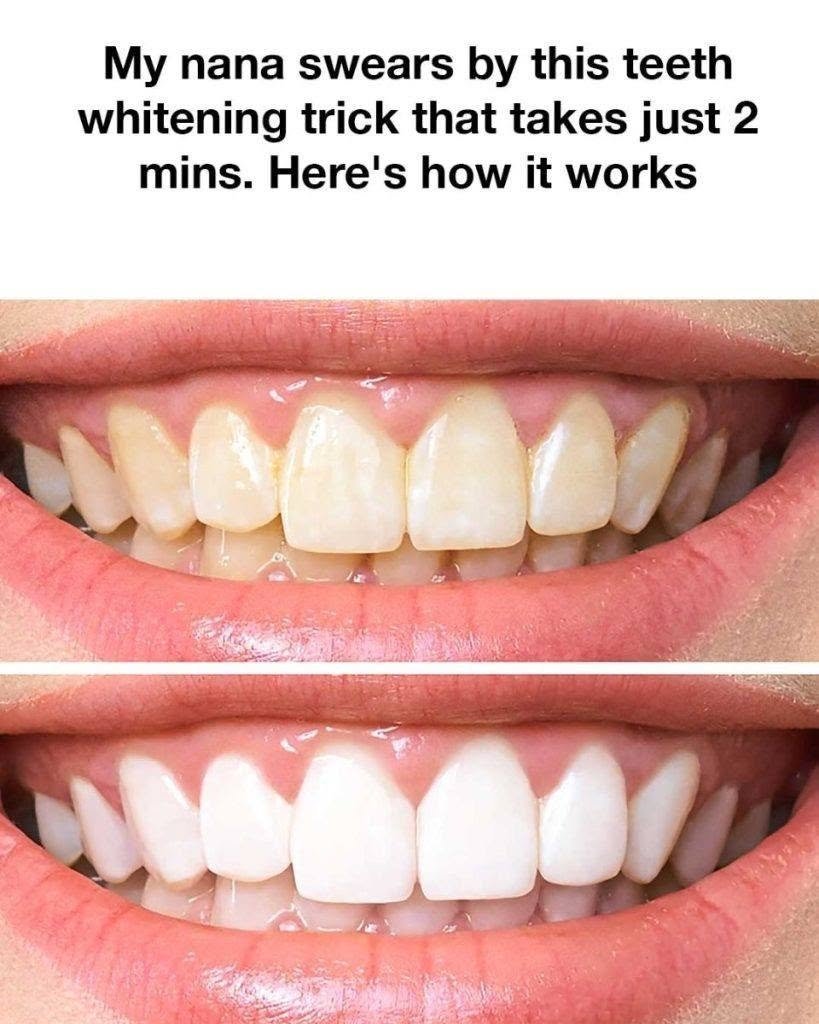
My Nana Swears by This 2-Minute Teeth Whitening Trick: Here’s How It Works
We’ve all seen the dazzling, ultra-white smiles plastered across billboards and social media feeds, usually paired with a hefty price tag for professional whitening treatments. But when it comes to keeping a bright, stain-free smile without breaking the bank, sometimes the best advice comes straight from grandma’s kitchen counter.
Looking for a quick DIY teeth whitening trick? Explore the 2-minute remedy your grandmother swears by, separate dental facts from kitchen myths, and learn how to protect your enamel.
The Wisdom of Grandma’s Bathroom Cabinet
For generations, grandmothers have passed down time-tested beauty and health secrets that rely on simple, everyday items. Long before commercial whitening strips lined pharmacy aisles, people turned to natural abrasives and pantry staples to polish away stubborn coffee, tea, and tobacco stains.
One popular method that frequently makes the rounds in family folklore involves a quick, two-minute home ritual using common kitchen ingredients like baking soda, hydrogen peroxide, or mashed fruit acids to instantly brighten a dull smile.
It sounds remarkably convenient—fast, cheap, and entirely accessible. But before you grab a spoon and start scrubbing your teeth with a homemade paste, let’s take a close look at how this popular trick works and what dental professionals want you to know about protecting your tooth enamel.
The Classic 2-Minute Kitchen Trick: How It’s Supposed to Work
While variations exist, the most common DIY whitening trick passed down through generations involves mixing a small amount of baking soda (sodium bicarbonate) with a few drops of hydrogen peroxide or fresh lemon juice to form a gritty paste.
The method is typically described as follows:
-
The Mix: Combine a teaspoon of baking soda with enough liquid to create a thick, spreadable paste.
-
The Application: Dip your toothbrush (or use a clean finger) into the mixture and gently brush or rub it across your teeth.
-
The Wait & Rinse: Leave it on for about one to two minutes, then rinse thoroughly with water.
The Theory Behind It: Baking soda is a mild abrasive. When rubbed against the surface of the teeth, it mechanically buffs away extrinsic surface stains caused by dark beverages, berries, and daily wear. Hydrogen peroxide acts as a mild bleaching agent to help lift discoloration.
Comparative Analysis: DIY Kitchen Tricks vs. Professional Dental Whitening
| Whitening Method | How It Works | Speed & Effectiveness | Enamel Safety Risk |
| DIY Baking Soda Paste | Mechanical abrasion and mild surface polishing. | Noticeable surface brightening in 2 minutes; temporary. | Moderate to High (If used too frequently or aggressively, it wears down enamel). |
| Over-the-Counter Strips | Peroxide-based gel bleaching agents breaking down deep stains. | Gradual results over 1 to 2 weeks. | Low to Moderate (Can cause temporary gum sensitivity). |
| Professional In-Office Laser Whitening | High-concentration bleaching gel activated by specialized light. | Dramatic whitening in a single 1-hour appointment. | Very Low (Managed under direct dental supervision). |
Crucial Warnings from Dentists: Protect Your Enamel!
While grandma’s trick might leave your teeth looking temporarily brighter, dental professionals urge caution when applying harsh kitchen ingredients directly to your teeth.
-
Pitfall 1: Irreversible Enamel Erosion.
-
The Danger: Unlike skin or hair, tooth enamel cannot regenerate once it is worn away. If you use baking soda too aggressively, or mix it with highly acidic ingredients like lemon juice or apple cider vinegar, you create a corrosive compound that literally etches away your protective enamel.
-
-
Pitfall 2: Increased Tooth Sensitivity.
-
The Danger: Stripping away surface enamel exposes the underlying dentin, which is packed with microscopic nerve pathways. This leads to sharp, painful sensitivity when consuming hot or cold foods.
-
-
Pitfall 3: Gum Irritation.
-
The Danger: Hydrogen peroxide and abrasive powders can irritate and chemical-burn delicate gum tissues if left on too long or applied too roughly.
-
Frequently Asked Questions
1. Can baking soda completely replace regular toothpaste?
No. Standard toothpastes contain carefully measured amounts of fluoride to strengthen enamel and prevent cavities. Baking soda lacks fluoride and does not provide comprehensive cavity protection on its own.
2. How often can I safely use a baking soda scrub on my teeth?
If you choose to use baking soda to lift surface stains, dentists recommend doing it only once a week or even once a month—never as a twice-daily routine—and using a very gentle touch.
3. Why do teeth turn yellow in the first place?
Teeth yellow naturally over time as the outer enamel thins, revealing the naturally yellower layer of dentin underneath. External factors like smoking, red wine, coffee, black tea, and dark berries also stain the outer pellicle layer of the teeth.
4. What is the safest way to whiten teeth at home?
Look for ADA-approved whitening toothpastes containing controlled, low-abrasivity polishing agents, or use custom-fitted whitening trays prescribed by your dentist.
Action Checklist
What to Do:
-
Consult your dentist before starting any aggressive DIY or commercial whitening regimen.
-
Drink staining beverages like coffee or tea through a straw to minimize contact with your front teeth.
-
Brush and rinse with plain water shortly after consuming dark foods or drinks.
What to Avoid:
-
Mixing baking soda with harsh acids like lemon juice for daily dental care.
-
Scrubbing your teeth aggressively with abrasive powders under the assumption that “harder scrubbing equals whiter teeth.”
Grandma’s quick 2-minute whitening trick might offer a fast, cheap way to lift surface stains for a special occasion, but it should be used with extreme caution. Protecting your precious tooth enamel is far more important than a temporary quick fix!