The Ultimate Prime Rib Blueprint: How to Master the King of Roasts Without Ruining an Expensive Cut of Beef
There is a distinct kind of holiday anxiety that comes with sliding a multi-pound prime rib into the oven. You have spent a small fortune at the butcher counter, your family is gathered around the dining table waiting expectantly, and you realize that a single miscalculation in cooking time will transform a gorgeous, marbled standing rib roast into an expensive, gray, overcooked disappointment.
Traditional recipes that call for blasting a roast at high heat from the very beginning are fundamentally flawed. They create a thick, overcooked gray band around the edges while leaving only a small sliver of medium-rare meat trapped dead center.
The Anatomy of a Perfect Roast
If you want restaurant-quality results at home, you have to abandon old-school timing charts and embrace modern culinary science: the reverse sear method.
Instead of starting hot, you cook the roast low and slow first, allowing the interior fat to render slowly, the muscle fibers to relax, and the moisture to redistribute evenly. Only after the interior reaches your target temperature do you blast it with blistering high heat to build a crackling, seasoned crust.
Step-by-Step Execution Plan
-
Dry Brine 24 Hours Ahead: Generously salt your bone-in or boneless prime rib with kosher salt a full day before cooking. Place it on a wire rack inside a baking sheet and leave it uncovered in the refrigerator. This draws out surface moisture, seasons the meat deeply, and guarantees an exceptional crust.
-
Bring to Ambient Temp: Two hours before it goes into the oven, pull the roast out of the fridge. Slather it with cracked black pepper, minced garlic, or fresh rosemary and thyme.
-
Low and Slow Roasting: Preheat your oven to a low 225°F to 250°F. Place the roast fat-side up on your wire rack and let it bake slowly. This phase takes roughly 3 to 4 hours depending on size.
-
Monitor with Precision: Throw away guesswork. Insert a digital probe thermometer into the absolute center of the thickest part of the meat, avoiding bones. Pull the roast out of the oven when it hits 120°F (49°C) for medium-rare.
-
The Rest and The Blast: Let the roast rest loosely under foil for 30 to 45 minutes. Crank your oven up as high as it goes—500°F to 550°F. Ten minutes before serving, drop the bare roast back into the blistering oven for 6 to 10 minutes until the exterior is deeply caramelized and crisp.
Comparison of Cooking Methodologies
| Metric | Traditional High-Heat Roast | The Modern Reverse-Sear |
| Temperature Profile | Starts hot (450°F+), then drops | Low and slow (250°F), finished hot |
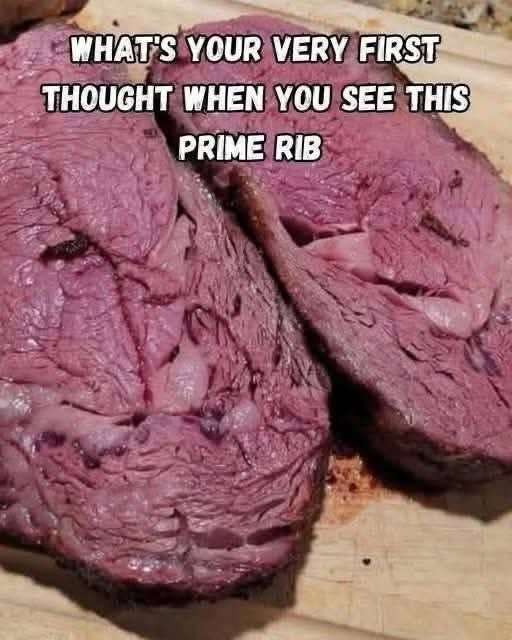
| Internal Gradient | Thick gray-brown band from edge to center | Uniform edge-to-edge pink perfection |
| Crust Quality | Good, but often overcooks outer meat | Deeply rendered, ultra-crisp exterior |
| Stress Level | High risk of overcooking the center | Highly forgiving with a wide window of control |
Common Pitfalls to Avoid
-
Skipping the Dry Brine: Salting right before it goes into the oven means surface moisture creates steam instead of a crust. Let the salt work its magic overnight.
-
Guessing Doneness by Time: Ovens vary wildly, and every roast has a different shape and bone density. Always cook to internal temperature, never to elapsed time.
-
Piercing the Bone: When inserting your meat thermometer, hitting the bone will give you a false, artificially high temperature reading, ruining your window of doneness.
Mastering this cut is less about culinary magic and more about respecting temperature control. Once you pull off an edge-to-edge pink, perfectly crusty prime rib, you will never look back at traditional roasting again.