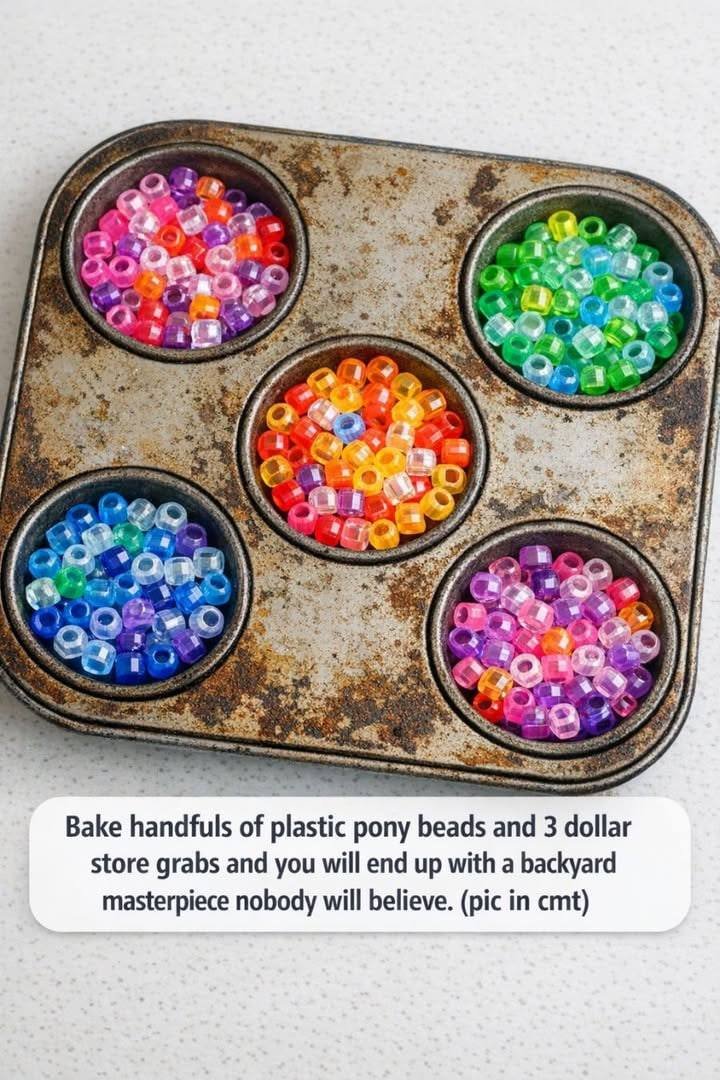
Bake Handfuls of Plastic Pony Beads + 3 Dollar Store Finds… and Create a Backyard Masterpiece Nobody Will Believe
Turn simple pony beads and dollar store items into a stunning backyard decoration. Learn this easy DIY project that creates colorful, light-catching art.
The Backyard DIY That Looks Like Glass Art (But Isn’t)
It sounds almost too simple to be real: a handful of plastic pony beads, a few inexpensive supplies, and your oven.
But once you see the result—a glowing, stained-glass-like decoration that catches sunlight beautifully—you’ll understand why this DIY project is going viral across patios and backyards in the U.S.
It’s affordable, beginner-friendly, and surprisingly impressive.
What Makes This DIY So Special?
This project transforms everyday materials into something that looks like custom outdoor art.
Here’s why people love it:
- Budget-friendly – most supplies cost just a few dollars
- Visually stunning – resembles stained glass or resin art
- Customizable – endless color combinations and designs
- Great for all ages – simple enough for beginners
What You’ll Need (Simple & Affordable)
You can find everything at a dollar store or craft aisle:
- Plastic pony beads (various colors)
- A metal baking pan or muffin tin
- Aluminum foil (optional for shaping)
- Non-stick spray or parchment paper
- Optional:
- Wire or hooks for hanging
- String lights for added effect
Step-by-Step: How to Create Your Backyard Masterpiece
Step 1: Preheat Your Oven
- Set your oven to 400°F (200°C)
- Always supervise and ensure good ventilation
Step 2: Arrange the Beads
- Place beads in your pan or mold
- Fill gaps tightly for a smooth melted finish
- Try patterns like:
- Ombre (gradual color fade)
- Random mosaic
- Stripes or shapes
Step 3: Bake Carefully
- Place in oven for 15–25 minutes
- Watch as beads melt and fuse together
⚠️ Important:
- Do not overbake—this can cause burning or strong fumes
- Keep children supervised during this step
Step 4: Cool Completely
- Remove from oven and let cool fully
- The piece will harden into a solid, glossy panel
Step 5: Remove and Finish
- Gently pop it out of the mold
- Add hooks, string, or place it in a frame
Where to Use Your Creation
Once finished, you can turn your piece into:
- A sun catcher for windows or fences
- A garden decoration
- A tabletop art piece
- A patio privacy accent
- A glowing backdrop with lights behind it
Real-Life Backyard Transformation
A homeowner in Arizona used this technique to create multiple panels:
- Hung them along a fence line
- Added string lights behind them
- Result: a colorful glowing wall that looked like custom glass art
Neighbors assumed it was professionally made—and were shocked it cost under $20.
Pros and Cons of This DIY
Pros
- Extremely affordable
- Easy to customize
- Eye-catching and unique
- Great reuse of craft materials
Cons
- Requires oven use and supervision
- Plastic may warp in extreme outdoor heat
- Fumes can occur if overheated (ventilation is important)
Safety Tips You Should NOT Skip
- Always bake in a well-ventilated area
- Avoid overheating plastic
- Never leave oven unattended
- Use dedicated or lined pans (not for food afterward)
Common Mistakes Beginners Make
- Overfilling molds unevenly
- Baking too long (causing discoloration)
- Not letting pieces cool fully before removing
- Using thin plastic that doesn’t melt evenly
Expert Tips for a Premium Look
- Use translucent beads for better light effects
- Mix clear beads with colors for depth
- Create multiple panels and arrange them as a set
- Add a wooden or metal frame for a finished appearance
2026 Trend: Budget Luxe Outdoor Decor
More homeowners are embracing:
- DIY projects that mimic high-end materials
- Upcycling and creative reuse
- Personalized outdoor spaces
This project fits perfectly into the growing trend of “affordable luxury design”.
Frequently Asked Questions
1. Are melted beads safe outdoors?
Yes, but avoid extreme heat exposure for long-term durability.
2. Can I use silicone molds?
Yes, they work well and make removal easier.
3. Do the colors fade?
Over time, prolonged sun exposure may cause slight fading.
4. Can kids help with this project?
Yes—with supervision, especially during baking.
5. Can I hang these pieces?
Absolutely! Add hooks or drill small holes for hanging.
Action Checklist: Make Your Own
- ✔ Gather beads and a baking mold
- ✔ Arrange colors and patterns
- ✔ Bake carefully with ventilation
- ✔ Cool completely before removing
- ✔ Display creatively in your backyard
Conclusion: From Simple to Stunning
This DIY proves you don’t need expensive materials to create something beautiful. With just a few dollar store items and a little creativity, you can turn plastic beads into a backyard feature that looks like art.
A handful of pony beads can become a show-stopping decoration with the right technique. It’s simple, affordable, and guaranteed to spark conversation.
Would you try this DIY project? Share your ideas or color combinations in the comments—you might inspire someone else’s backyard transformation!